Give someone one client only
Let a partner see their own conversations and nothing else.
Use this when a partner should read their own conversations, and nobody else's customer should appear on their screen.
Open Setup in the left rail, then People.
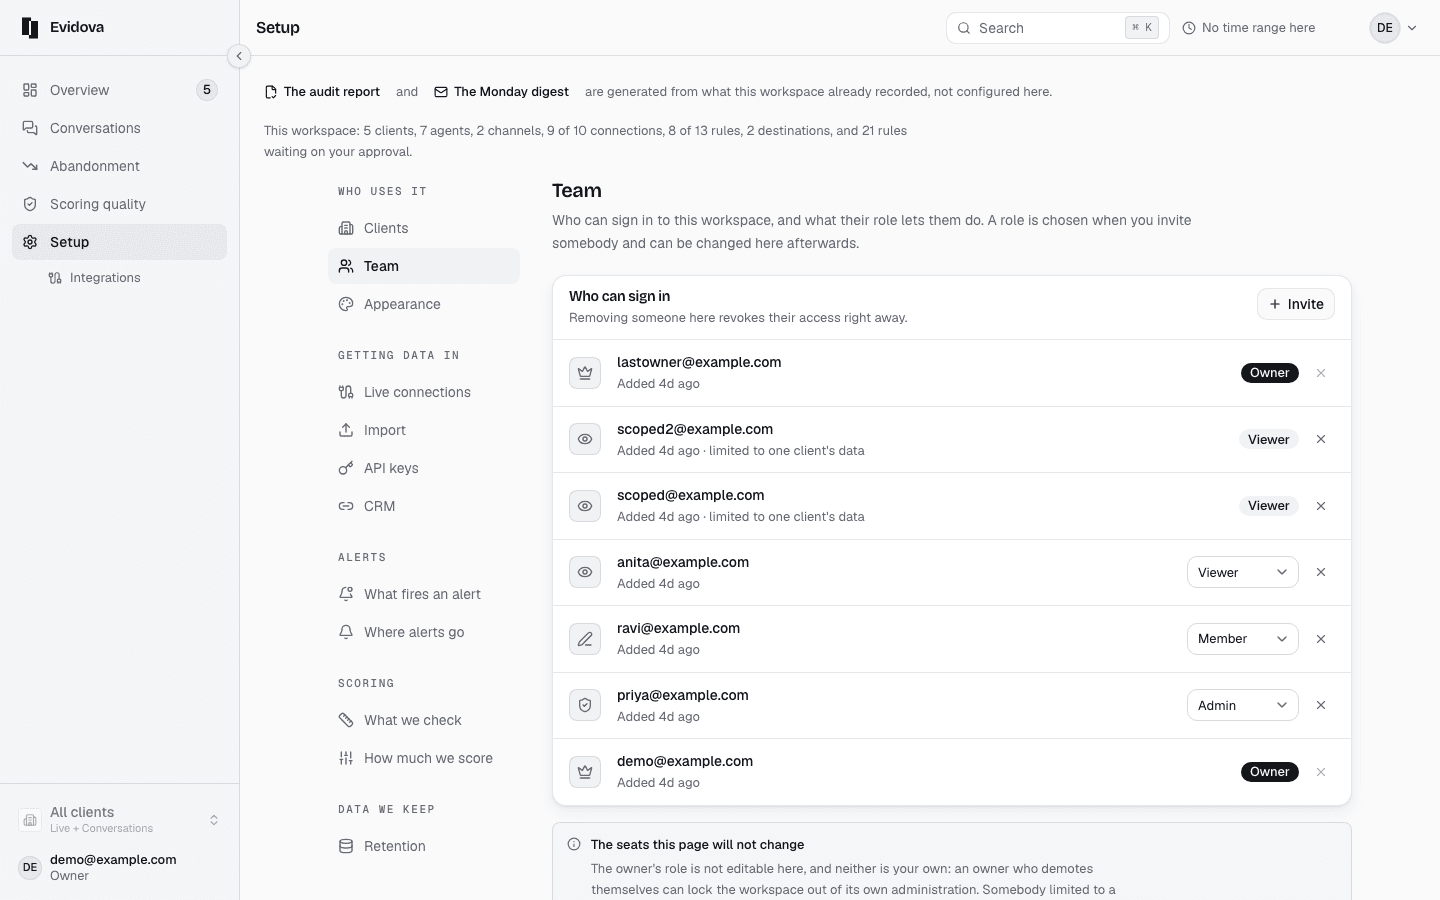
Press Invite. Fill in Email and choose a Role.
You cannot invite somebody to a role above your own.
Choose Viewer.
A viewer changes nothing, and it is the only role a single-client limit can sit on.
Press Send the invite.
They get a sign-in link, so there is no password for you to pass on.
Read the row that appears.
A seat already limited to one client says so under the address.
Read What each role can do, below the roster.
All four roles, what each may do, and how many people hold it.
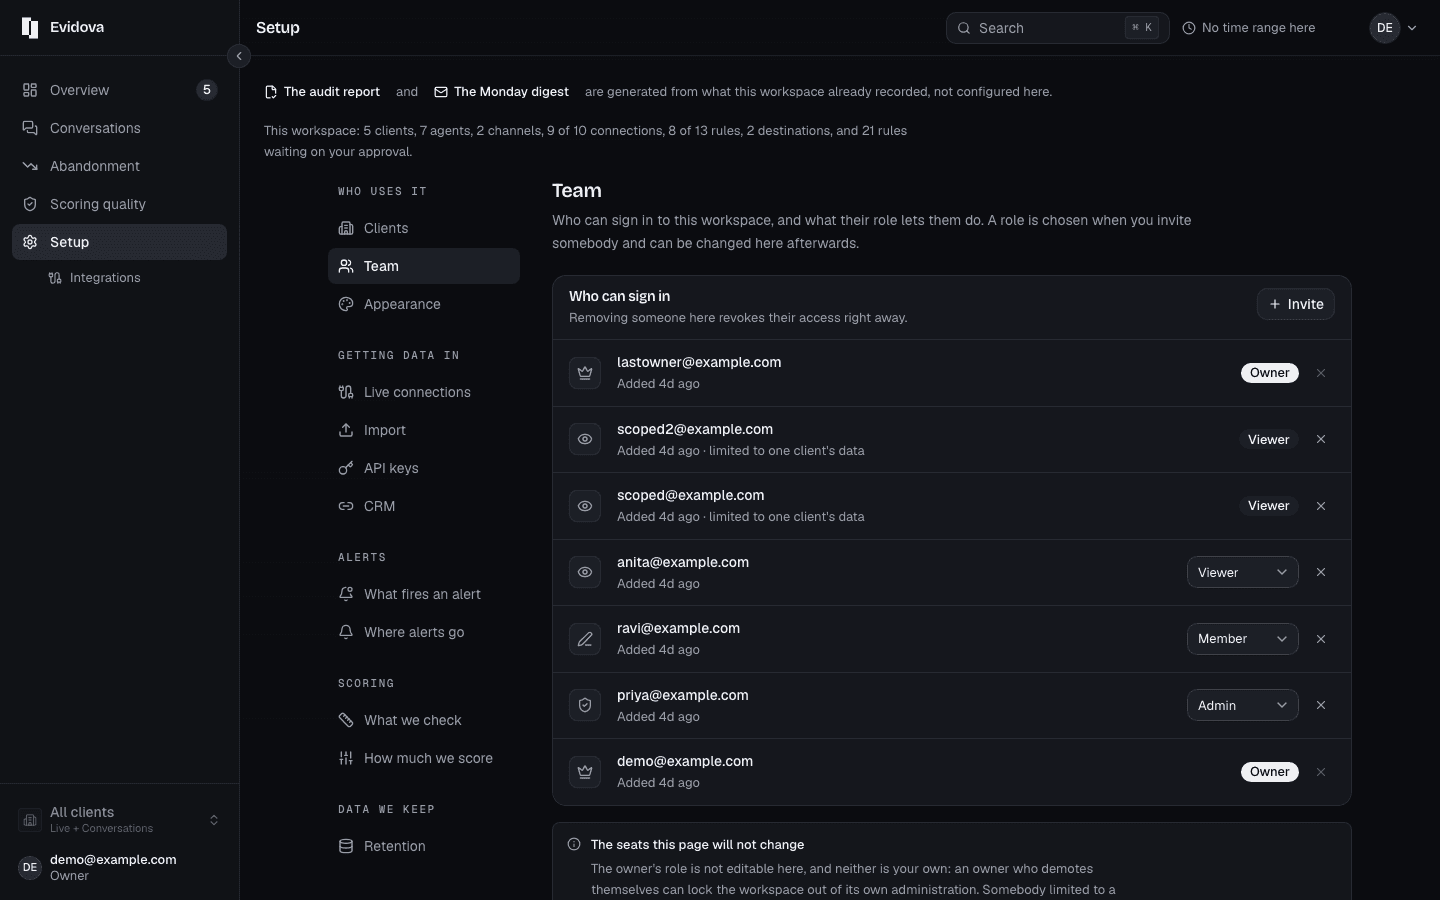
Reading it right
- Do not use the client switcher in the top bar as a permission. It narrows what you are looking at. It is a view, not a boundary.
- For a system rather than a person, use a key. Setup, then Keys and addresses, and the list marks any key limited to one client.
- Removing somebody revokes their access at once. Their past reviews and notes stay, with their name on them.
Note: The limit itself cannot be set here. There is no client picker in the invite form or on a roster row, so a viewer invited here sees the whole workspace. Ask us to apply the limit until the picker exists.
Read next
- Retention and redaction · Choose how long transcripts live, and strip personal details as they arrive.
- Watch conversations as they land · Follow traffic in real time and catch a bad release while it is happening.
- Change the words on screen · What you can rename today, what the product calls things, and where the words come from.